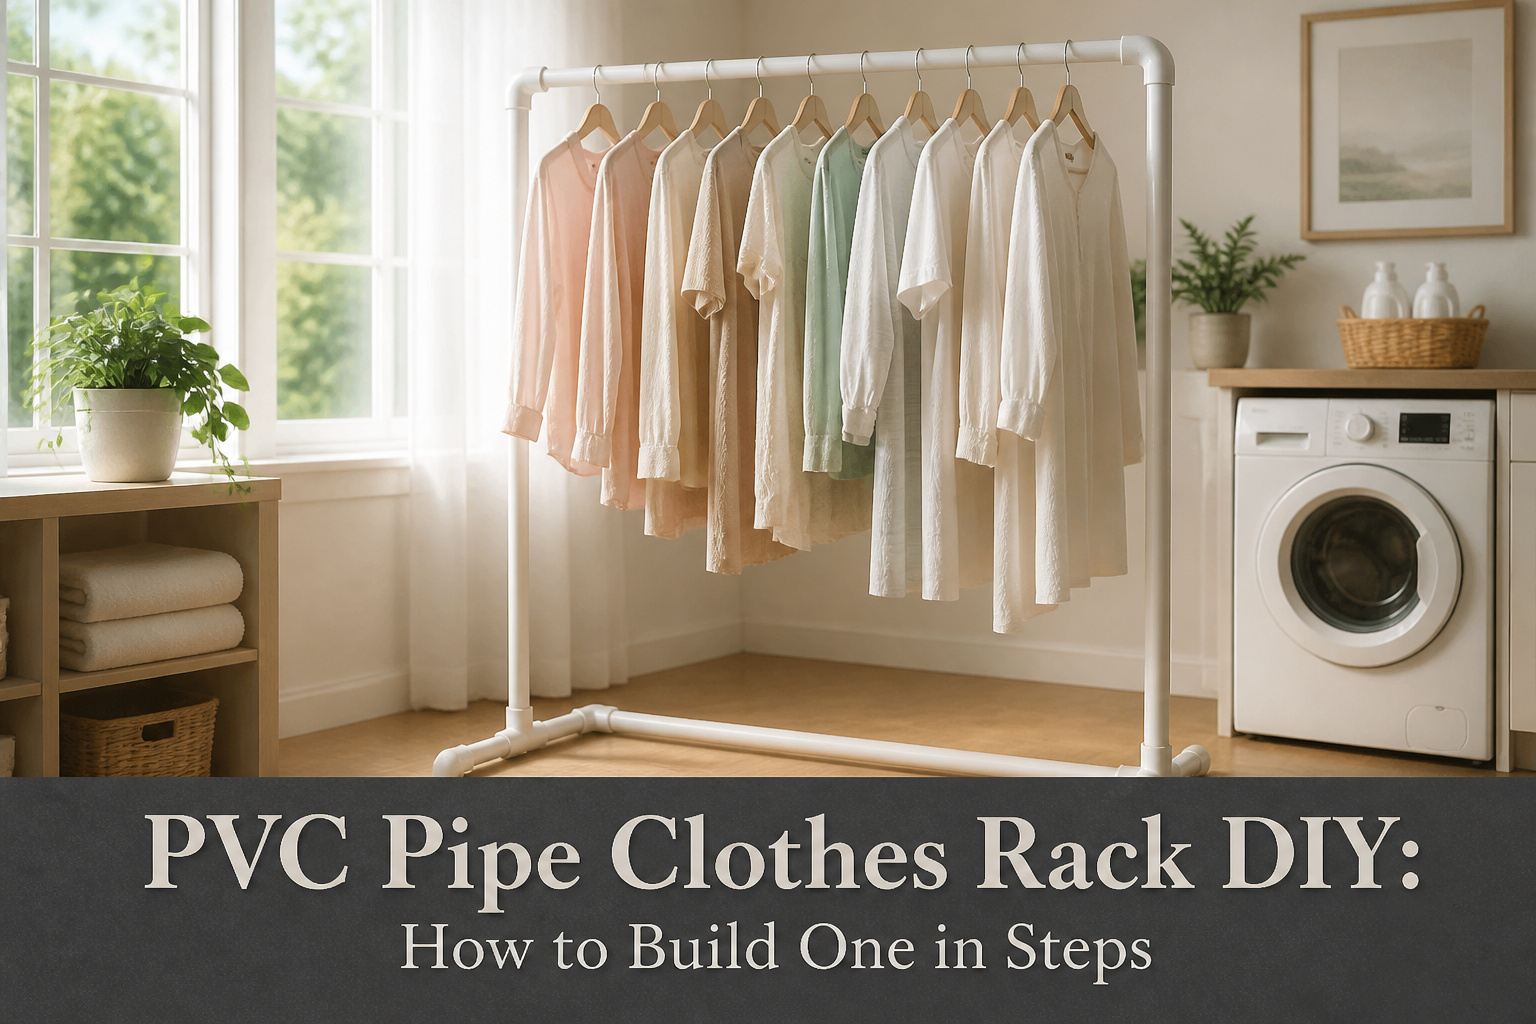
A PVC pipe clothes rack is a freestanding garment bar you build from 1-inch PVC pipe and furniture-grade fittings, held together by friction instead of glue so it breaks down flat in under two minutes. The catch is that without weight in the base, the thing tips the moment someone brushes past it with a laundry basket. Fill each leg with sand or rocks before capping it, and the rack stays upright under a full load of wet laundry or winter coats.
1. Measure the Space

A clothes rack that is too short leaves your dresses pooling on the floor; one that is too tall wobbles or simply will not clear the ceiling. Start with 36 inches for the vertical side pieces if you are hanging shirts, jackets, or everyday folded pants. That height clears most standard garments with a couple of inches to spare.
I ran my tape measure from floor to ceiling in the corner where I planned to stand this thing, then subtracted a few inches for the elbow fittings that sit on top and the casters or caps at the bottom. The 36-inch figure comes from the common build, but swapping in longer pipe is straightforward since the side pieces drop into 4-way fittings and are not glued. A long coat or a maxi dress might need 48 inches or more, and the only cost is that extra length of 1-inch PVC.
Width and depth matter too, though less than height. The longer the horizontal span you plan, the more the pipe can sag under a full load of wet laundry or winter coats. I kept my planned span under five feet after measuring a few of my heavier jackets end to end. If your space forces you wider, the same 1-inch Schedule 40 pipe still works; just know that the rack will feel less rigid and you may want to keep heavier items toward the ends where the fittings add stiffness.
Recommended Products
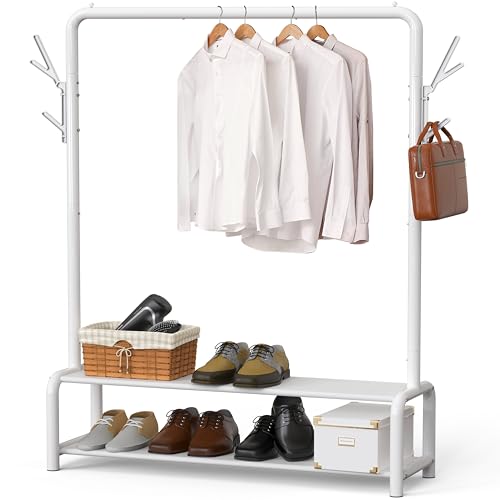
Robust Steel Frame - Solid steel construction offers a strong and reliable alternative to traditional closet

Reliable Weight Support - the hanging clothes rack with shelf designed to hold everyday clothing, coats, and accessories, plus a bottom shelf for shoes, bins, and folded garments, provides safe, dependable support for daily use

【Short height fits limited space, access easily】 3.37 feet fit inside your closet to double closet space and you can use closet rod also, fits small loft, child's room, attic, under a stairway to save more space; with this baby clothes rack, you won't annoyed by lift heavy jackets, kids or elderly can easy reach their clothing too
2. Purchase Materials

Most hardware stores stock two kinds of PVC fittings, and the difference matters for a project that sits in your bedroom rather than behind a wall. Standard plumbing-grade corners and tees carry molded markings and a slightly yellow cast that never quite disappears under paint. Furniture-grade fittings in 1-inch sizes run cleaner and whiter, with no stamped ASTM codes, and the dollar-or-two premium per piece pays back the first time you look at the finished rack and don’t see a utility pipe pretending to be décor.
You’ll need about 206 inches of 1-inch PVC pipe for a rack standing roughly 50 inches tall and 31 inches wide. A full build calls for elbow connectors, tee connectors, and end caps for the feet; the tees sit at the base and again where the vertical posts meet the top bar. A PVC cutter is the only tool worth bringing home, since saws leave burrs that fight assembly and sandpaper never quite smooths the inside diameter. Keep the whole materials list under $20 if you shop the big-box stores, though prices drift by location and whether you’re buying ten-foot sticks or cutting down from a contractor bundle. Four five-foot lengths usually cover it with inches to spare.
Recommended Products

Note: 1-inch pipe has an actual inner diameter of 1.315" [Schedule 40] and is used to connect PVC pipe with an outside diameter of 1.315".

INSTALLATION EFFORTLESS: Each package comes with 4 x 3-Way SCH40 PVC Pipe Fittings. Just trim 1" PVC pipe to your preferred length and place it into the slots to construct cubes or different shapes using this PVC connector. Every opening on this PVC joint features a deep-set socket on three distinct angles, each 90 degrees apart.

Important Notice: Specifically designed for standard 1 inch SCH40 PVC pipes (OD approximately 1.315 inches / 33.4mm). Will NOT fit pipes with an exact 1 inch outer diameter. Please confirm your pipe matches 1 inch SCH40 sizing before purchasing. If you have any questions about our products, please contact us by email on Amazon.
3. Cut the PVC Pipe

Four 5-foot lengths of schedule 40 PVC pipe leave room to get four 36-inch pieces and four 12-inch pieces with about 48 inches still in hand for mistakes or recuts. That spare material matters more than it sounds; pipe slips in the cutter or measurement marks smudge and suddenly your 12-inch piece is 11¼.
I start with the long cuts. Measuring twice against a tape on a flat surface, not holding the pipe in the air where it bows, gives straighter marks. A PVC cutter shears cleaner than a hacksaw, with no plastic burr to shave later. The 36-inch pieces form the two uprights and the top bar; the 12-inch pieces make the feet and any bracing the base needs. Cut all four long pieces first, then reset the cutter for the short ones so you are not flipping back and forth.
If the rack needs to stand taller, swap two of those 36-inch sections for longer stock instead of adding joins. One cut in the wrong place is easier to absorb when the leftover pipe is measured in feet, not inches.
Recommended Products

【200 LBS Heavy-Duty Stability】The semicircular-shaped metal base with 30% thicker frames hold all your winter clothes without wobbling. Acting as a steadfast guardian, its industrial-grade reinforced joints prevent bending, surpassing any flimsy rolling hanging clothes rack

【Sturdy and Durable】- This clothes rack is made of high quality steel, which is sturdy and not easy to bend. Strong hanging rod, stable base and heavy duty material provide sufficient stability for this closet rack.
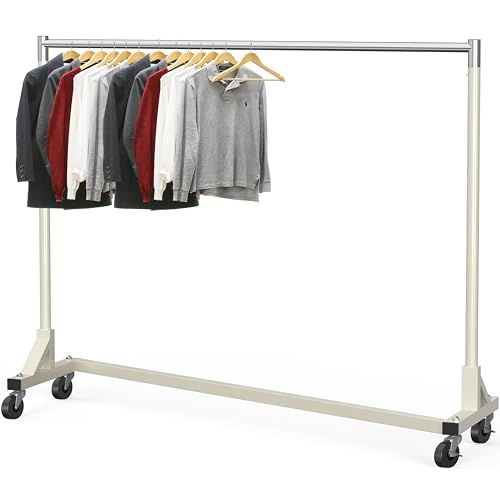
[ Industrial Grade Garment Rack ] Supports up to 500 lbs, ideal for storing and organizing all kinds of apparel and bulky garments
4. Assemble the Base

The base frame starts with two tee connectors and four short lengths of PVC for the feet. I lay one tee flat on the floor, socket pointing up, and push an 8-inch piece into each side opening. Some builders use 12-inch legs instead for a wider footprint, and that extra four inches matters if you’re planning to load the rack heavy or swap it between carpet and hardwood. Either way, end caps press onto the open ends last, and the whole foot assembly stays dry, no cement.
Here’s the part that saved me some head scratching later: do not glue these connections. A friction-fit rack wobbles a hair more at first, but the tradeoff is being able to break it down when you move or stash it behind a door. Once the glue sets, this thing becomes furniture you have to navigate around. I keep mine loose, knock the legs apart in about thirty seconds, and the pieces stack flat under a bed. Two identical foot assemblies make the base, and the vertical piece rises from that center socket when you’re ready for the next step.
Recommended Products

UNMATCHED QUALITY & PERFORMANCE: The Fernco QC-3.75 QwikCap fits directly over 3" Schedule 40 PVC sockets. Made of the highest quality PVC, these pipe caps are built to last.

UNMATCHED QUALITY & PERFORMANCE: The Fernco QC-4.75 QwikCap fits directly over 4" Schedule 40 PVC sockets. Made of the highest quality PVC, these pipe caps are built to last.

Important Notice: Specifically designed for standard 3/4 inch SCH40 PVC pipes (OD approximately 1.05 inches / 26.67mm). Will NOT fit pipes with an exact 3/4 inch outer diameter. Please confirm your pipe matches 3/4 inch SCH40 sizing before purchasing. If you have any questions about our products, please contact us by email on Amazon.
5. Construct the Vertical Supports

With the base laid out, push each vertical piece straight down into the upward-facing socket of its tee connector until it bottoms out firmly. The 50-inch uprights I see in most builds give a comfortable hanging height for shirts and dresses without the rack feeling top-heavy, though a shorter bar works fine in a tight corner where you mostly hang folded pants. One source uses two joined pieces on each side, a lower third and upper two-thirds connected through another tee, but a single continuous pipe is simpler and eliminates one possible flex point. Give each upright a slight twist after seating it; the dry PVC threads bite just enough to feel planted, and the perpendicular base keeps it from leaning. If the fit feels loose, a strip of masking tape wrapped once around the pipe end before insertion tightens the joint without glue, which matters on a project you might need to break down for a move. The elbows for the top bar sit open and waiting now, and the whole frame starts looking like something you can actually hang clothes on.
Recommended Products

[Easy-to-use Clothes Hanger] This hanger is designed with a high pole of 72 inches in height, which can flexibly hang, trousers, and other items. It is equipped with a side hook for hanging bags, hats, belts, towels, umbrellas

【Sized for small space】 The size of small clothing rack for hanging clothes is 60" x 18.5" x 15.5". It can fit 6-20 thin clothes without looking too crowded and work well in a guest room, bedroom, laundry room, and apartment

【Reasonable Use of Small Space】: Size of small clothing rack with shelves: 13.8"D x 18.5"W x 70"H, with its compact design, it occupies very little floor space and can be easily placed in the corner, apartment, laundry room, dormitory and other small spaces, but the width is enough to hold 8-10 shirts, 7 sweaters or 5 jackets without wrinkling, do double duty on storage and saving-space;
6. Add Horizontal Support

The last piece that turns two uprights into an actual rack is the 36-inch top span. Slide an elbow onto each vertical pipe, rotated so the open sockets face each other across the gap. A short twist usually lines them up; if one sits crooked, the PVC has enough flex to forgive a few degrees of misalignment.
Press the final 36-inch pipe into both elbows and the frame goes rigid. That horizontal piece is the bar everything hangs from, so it takes the load. Sources vary on how they get here, some routing support through a middle tee, some keeping the span open. I prefer the simpler elbow-to-elbow run: fewer fittings, fewer leak points for wobble, and the whole assembly still breaks down in under a minute.
Recommended Products

STURDY CLOTHES RACK -- It can easily bear the weight of daily clothes because its main material is high-quality steel.
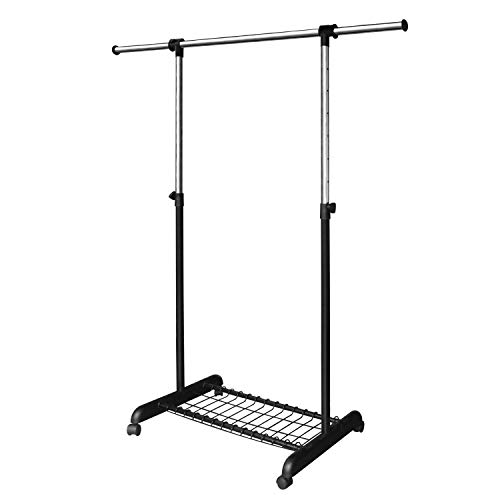
【Heavy Duty 1.25" Steel Frame】Built with thickened 1.25-inch carbon steel pipes (31.8mm diameter) and industrial-grade PP joints. Rust-resistant coating ensures long-lasting durability—holds up to 55lbs without wobbling.

【Multi-Space Storage Solution】Standing clothes rack designed for laundry rooms,bedrooms, dormitories, and small apartments.Creates instant organization for clothing, quilts, bags, and seasonal items while saving up to 60% floor space.
7. Stabilize the Rack

A PVC clothes rack without ballast is basically a coat rack waiting to become a domino. The pipe itself weighs almost nothing, so the moment you load it with winter coats or damp denim, the center of gravity shifts and the whole thing goes over. The fix costs maybe two dollars and ten minutes.
Fill each foot piece with sand or rocks before you cap it. Pop the end cap off one leg, pour in dry sand or small gravel until it is almost full, then press the cap back on tight. Do all four. The added mass sits at the lowest possible point, which is exactly where you want weight fighting a tip.
If you already glued your caps on or just want insurance, swap the foot pieces for longer pipe. A wider base moves the tipping point outward before physics even starts.
Create more stability in the clothes rack by adding sand or rocks to the feet pieces. Detach one of the foot pieces from the tee connector and leave the cap on. Fill the piece with sand or rocks until it is almost full and attach it back onto the tee connector.
— WikiHow
That extra weight does not have to be pretty; it lives inside the pipe where nobody sees it, and it keeps your rack upright the first time someone bumps it with a laundry basket.
Recommended Products

Package contents: You will receive 4 pieces of durable heavy-duty PVC pipe frame cap accessories and mounting screws, which are very easy to install and use, and fully comply with furniture-grade SCH40 standards.

INSTALLATION EFFORTLESS: Each package comes with 4 x 4-Way SCH40 PVC Pipe Fittings. Just trim 1" PVC pipe to your preferred length and place it into the slots to construct cubes or different shapes using this PVC connector. Every opening on this PVC joint features a deep-set socket on four distinct angles, each 90 degrees apart.

✅Premium Furniture-Grade Material: Certified with ASTM D1784 Class 1 standards, our PVC fittings maintain structural integrity under 300 PSI pressure, ensuring that they are sturdy and long-lasting. Ideal for indoor furniture assembly and DIY home décor projects.
8. Finish and Customize

Raw PVC attracts dust the second it leaves the store, so the real test is getting paint to stick. Scuff every surface with 120-grit sandpaper first, then wipe the dust with denatured alcohol before any primer goes on. A universal bonding primer beats regular spray paint by a wide margin here; without it, the color flakes off where the hangers slide. I learned that sequence by ruining a rack that looked fine until the third week.
A lower shelf turns the rack from garment holder into proper storage. Two standard units tie together with extra tee connectors at the base, and a wood plank laid across the bottom pipes holds shoes or folded jeans. The modular cut means you can stack multiple shelves if the vertical space allows, or stop at one and keep the floor clear for a laundry basket.
Wall-mounting is another path entirely. A longer PVC pipe with end caps drops onto hooks like the Stainless Steel Wardrobe Pipe or AddGrace Shelf Brackets. Mount the brackets level, build your shelf, and the hanging bar sits ready without touching the floor. Caster wheels are the last option, and maybe the most useful if the laundry room doubles as a bedroom closet on swap day.
Recommended Products

EXACT DIMENSIONS & SPECIFICATIONS: Please review the specific measurements carefully before ordering to ensure a perfect fit. Overall Dimensions: 24.2"D x 63"W x 72.25"H. Max Weight Capacity: 600 lbs. Wheel Size: 3-inch diameter (2 locking, 2 non-locking)
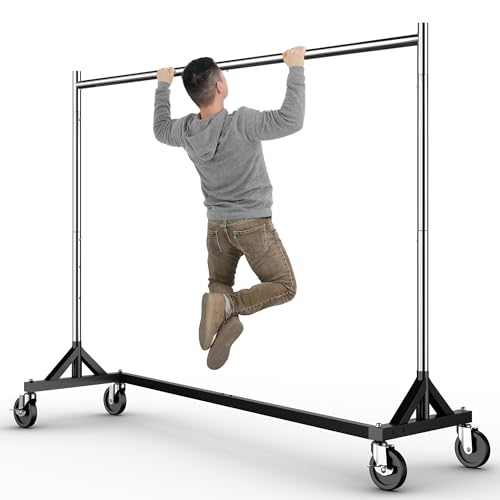
【500LBS Capacity】- Our clothes rack heavy duty is made of quality steel with 1.5mm thickened poles for stronger support, which makes this clothes rolling rack much stronger and sturdier. With this commercial grade garment rack you can say goodbye to wobbly and bending. The max load capacity is 500 LBS, strong enough for all your storage needs.
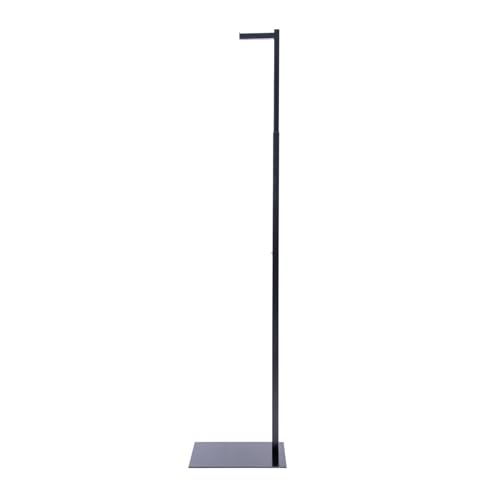
Adjustable Height: Tailor the height of the single-arm clothes rack display from 48 in to 72 in inches to fit your merchandise and space requirements perfectly.
Materials and Tools

Most hardware stores carry everything you will need in one aisle, which is part of why this project appeals to renters who cannot install wall-mounted racks. PVC pipe itself is cheap, but the fitting type matters more than the pipe.
Here is what to gather:
- 1-inch diameter PVC pipe in 5-foot lengths. Most builds use four of these. One-inch is the size every successful rack uses; anything narrower bends under a full load.
- Furniture-grade fittings rather than standard plumbing elbows and tees. Plumbing fittings are tapered for cement and do not seat fully without it, leaving your rack wobbly. Furniture-grade pieces are straight-walled and slip together cleanly.
- Two 1-inch 4-way PVC furniture fittings. These sit at the top corners where the vertical, horizontal, and side supports meet.
- Six 1-inch 90-degree furniture-grade elbow connectors for the remaining corners along the top rail and base.
- Four matching tee connectors where the legs meet the lower frame.
- End caps for the four feet. Pop them on last, or fill the legs with sand first if the rack will live on a smooth floor and you want the weight.
- A PVC cutter and a measuring tape. The cutter slices cleaner than a saw and costs under twelve dollars; worth buying even for this one build.
- Optional: spray paint in black, metallic gold, or silver, or any color that reads less like utility plumbing and more like intentional furniture. Paint covers the barcodes and serial numbers that ship on every length of pipe.
Recommended Products

No Guesswork on Fit for 1/2" PVC Pipe: Tired of loose or mismatched PVC fittings? This 3-way PVC elbow is precisely designed for standard 1/2" Schedule 40 PVC pipe (OD approx. 0.84"), delivering a snug, secure fit that reduces wobble and saves time during assembly, ideal for stable PVC structures

INSTALLATION EFFORTLESS: Each package comes with 4 x 3-Way SCH40 PVC Pipe Fittings. Just trim 1/2" PVC pipe to your preferred length and place it into the slots to construct cubes or different shapes using this PVC connector. Every opening on this PVC joint features a deep-set socket on three distinct angles, each 90 degrees apart.

Designed for standard 1 inch SCH40 PVC pipes with a 1.315" outside diameter, these 1 inch pvc cap fittings provide a secure end closure for compatible PVC pipe projects. Please measure your pipe OD before ordering to ensure proper fit.
Weight Capacity and Portability

PVC pipe holds more weight than most people expect from a plastic build. The real advantage comes from the unglued joints: a fully assembled rack breaks down in under two minutes and fits in the trunk of any standard sedan. I noticed this use case only in passing mentions across build blogs, usually buried under assembly photos, but it solves a genuine problem for people who never considered PVC permanent furniture.
Dance parents and photographers seem to be the ones who figured it out first. A rack left dry-fitted can travel to weekend competitions or on-location shoots without the bulk of a folding metal frame, which still eats half a closet when collapsed. The pipes themselves weigh almost nothing; one person carries the whole bundle between a parking lot and a venue door. Reassembly takes longer the first two times, then muscle memory sets in.
The trade is stability. Without glue, the rack needs weight on the base to stay planted, or it wobbles when someone brushes past. I would not trust an unglued build for long-term daily use in a bedroom, but for episodic need, the compromise is deliberate and useful.
Recommended Products

Compact Design - Lightweight and space-saving garment rack that supports up to 100 lbs, perfect for apartments, dorms, laundry rooms, or any small space as a practical closet alternative
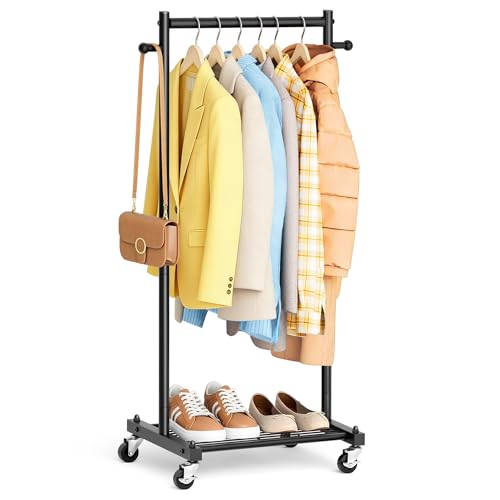
【Fit for Small Spaces】 This small clothing rack with shelves fits perfectly into any small space like closets, laundry rooms, bedrooms, or guest rooms, providing extra hanging storage right where you need it. Size: 45" x 18.5" x 15.5"

1.The wall-mounted clothing rack is designed with cool industrial-looking and crafted from metal pipes, which give a touch of retro and elegance, not only for displaying clothes, thanks to the simple and elegant appearance, it also decorates your wall to be more beautiful..
Common Questions

Most of what held me up before starting came down to three questions that are easy to answer.
- Longer garments need longer pipes. Swap the two 36-inch vertical pieces for any length of 1-inch PVC you want. The elbows and 4-way fittings stay the same; only the side pipes change.
- No glue needed. Friction fit is enough. Leaving the joints unglued lets you break the rack down flat in a few minutes, which is the whole reason this thing works for travel or a packed trunk between photo shoots.
- It holds a full everyday load. The design is a wide-support base with 1-inch Schedule 40 pipe, and that combination carries a significant amount of clothing, jackets, and shirts without bending. I would not hang a closet full of winter coats on one bar, but for the standard rotation most of us move from basket to rod, the rack stays straight.
Frequently Asked Questions
Can I make the PVC clothes rack taller for long garments?
Yes. Swap the two 36-inch vertical side pipes for longer sections of 1-inch PVC pipe. The elbows and 4-way fittings stay the same, so the only cost is the extra pipe length. A maxi dress or long coat typically needs 48 inches or more.
Do I need to glue the PVC pipe and fittings together?
No. Leave every joint dry and friction-fit. The rack will wobble slightly at first, but you can break it down flat in about thirty seconds for moving or storage. Once PVC cement sets, the rack becomes permanent furniture you have to work around.
How much weight can a PVC clothes rack hold?
The 1-inch Schedule 40 pipe and wide-support base design carry a full everyday load of shirts, jackets, and folded pants without bending. Avoid loading one bar with an entire closet of heavy winter coats. Fill the feet with sand or rocks if you want extra stability against tipping.