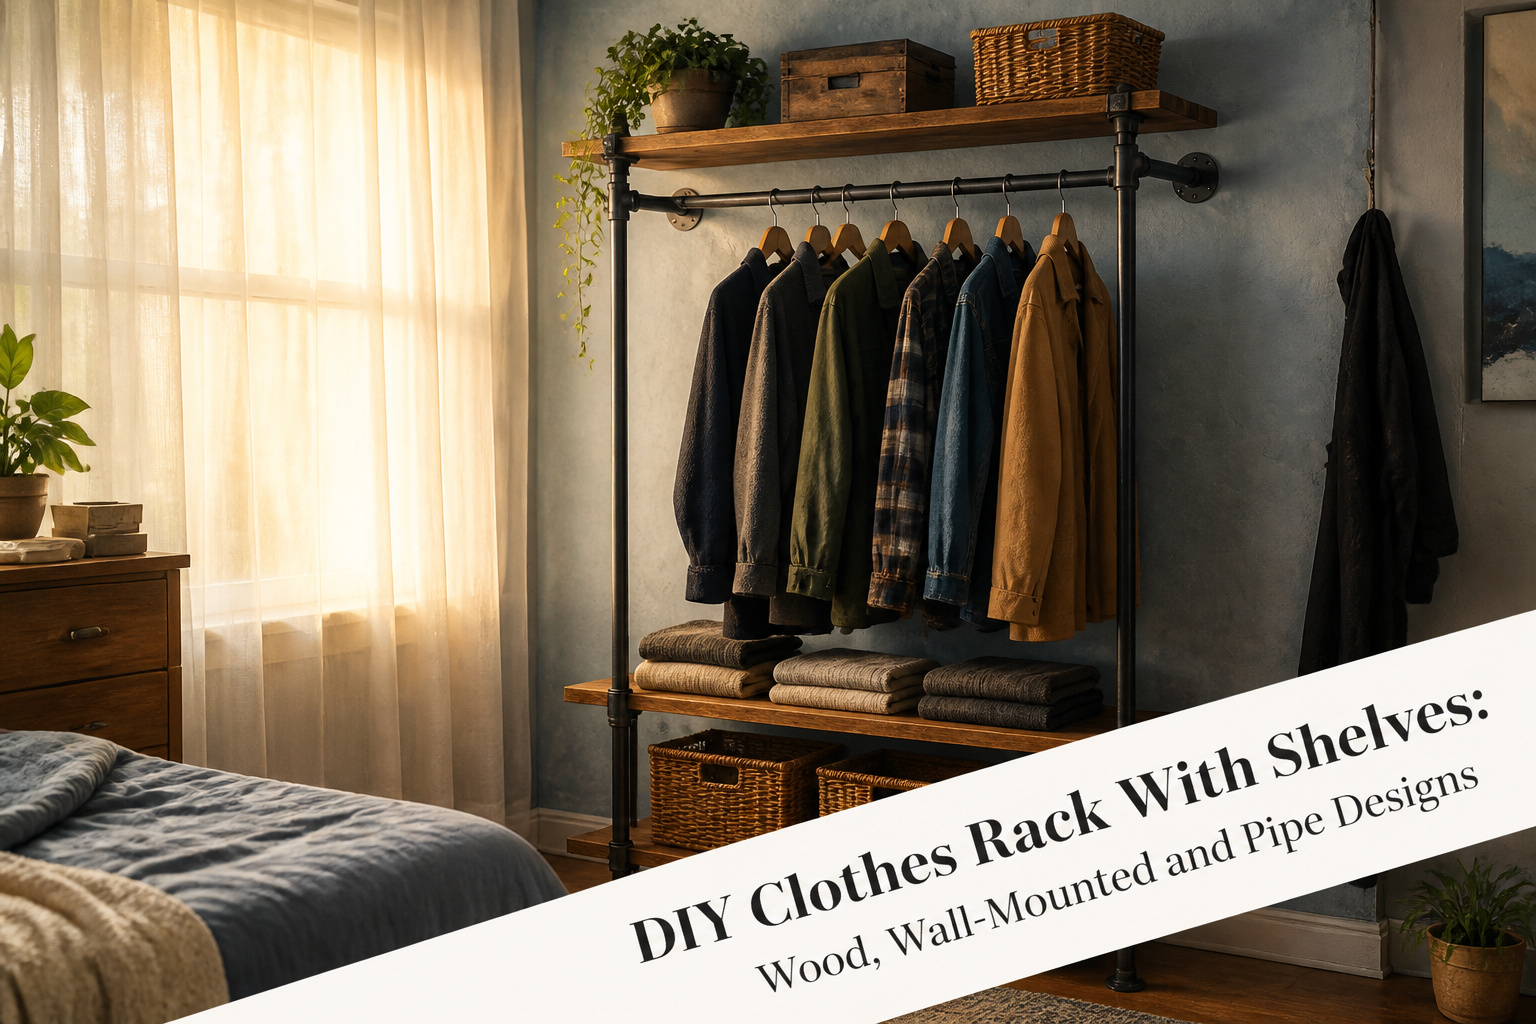
A DIY clothes rack with shelves is a freestanding or wall-mounted storage unit you build from lumber or pipe, with a hanging bar and a platform above for boxes or folded clothes. The catch is that a wood dowel bows in the center under winter coats unless you move the legs inward to shorten the span, while pipe rigs need every joint finger-tight before the final wrench pass or the whole frame lists three degrees. Either way, you are drilling 1 1/4 inch holes or threading black iron, not buying furniture flat-packed.
Cut Lumber to Size

A miter saw gives you the cleanest square cuts on 2×4 stock, though a circular saw with a straightedge clamped for guidance works fine if that is what you own. Cut two pieces to 48 inches for your uprights; these carry the weight of hanging clothes and the shelf above, so accuracy matters more here than on any other step. The eight footers you will cut to 10 inches each form the base, four per side in a ladder pattern that keeps the rack from tipping when you load one end heavier than the other.
I set a stop block once I had the first upright right at 48 inches. That let me match the second piece without measuring again, and identical uprights mean your dowel holes will line up later without shimming. The ten-inch feet are short enough that you can gang two 2x4s together and cut them in one pass, saving time and keeping the lengths matched. Wear safety glasses; the short offcuts from the feet have a habit of kicking back.
Recommended Products

【𝘿𝙤𝙪𝙗𝙡𝙚 𝙍𝙤𝙙𝙨 𝘿𝙚𝙨𝙞𝙜𝙣, 𝙑𝙚𝙧𝙨𝙖𝙩𝙞𝙡𝙚 𝙎𝙩𝙤𝙧𝙖𝙜𝙚】The double rods clothes rack is designed with a high and a low rods for hanging dresses, pants, etc flexibly. The side extension rods provide extra storage space for hanging bags, hats, belts, towels, umbrellas, etc and the bottom bars for your shoes, suitcases or luggage

Sturdily Built to Last for Years - The clothes rack is made of strong black malleable iron. The clothes bar will not get bent or deformed under heavy loads of clothes of more than 80 lbs thanks to its heavy duty iron pipes

INDUSTRIAL PIPE STYLE- Rustic clothing rack could be perfect match decorative vintage style to your home. Retro heavy duty pipe steampunk style, show off your amazing taste with its french style design. Try to DIY your own creation with better space saving.
Drill Holes for the Dowel Rod

A 1 1/4 inch hole saw bit is the right tool here, not a spade bit or Forstner. A hole saw leaves a cleaner wall and evacuates chips better, which matters when the hole sits close to the top edge of a narrow board.
I mark each vertical piece 1 1/2 inches down from the top face. That measurement counts from the flat surface you will see, not from the rough edge if the cut is slightly proud. Drilling before assembly keeps the waste side from blowing out against another board, and clamping a sacrificial block to the back does even more. The center point of the hole saw’s pilot bit should sit exactly on your pencil mark, and the drill stays level only if you start the cut slowly. Rushing tilts the hole, and a tilted hole means a crooked rod later.
I have drilled these freehand when I was in a hurry. The result was a dowel rod that sat visibly off-level across the span. Not catastrophic, but the gap showed, and filling it would have meant starting over. Now I spend the extra two minutes to clamp a straightedge flush with the mark and let the drill base ride against it while the pilot bites. The straightedge does not guide the whole cut, just the first quarter inch until the saw rim has seated. After that, the hole itself keeps the bit true.
Dust the chips out before you slide the dowel through. A single compacted shaving will push the rod off-center and stress the joint for the life of the rack.
Recommended Products
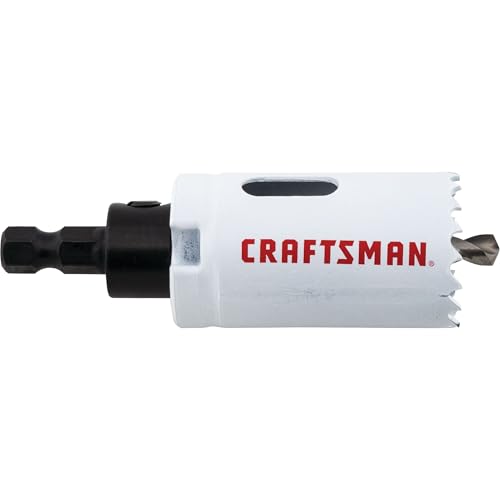
Bi-metal construction: Provides long life and added durability

Package Includes: 1 pc 1-1/4" hole saw, 1 pc arbor with drill bit, 1 pc pilot drill bit (replacement), 1 pc hex key

Common Size: Included most common sizes for Homeowners/Crafts, 5 PCS hole saws 1" (25 mm), 1-1/4" (32 mm), 1-1/2" (38 mm), 2" (51 mm), 2-1/8" (54 mm), 1 pc mandrels, 2 pc drill bits, 1 pc hex key in storage case for everyday home drilling hole projects
Attach the Feet

The 10-inch pieces become the feet that keep this rack from tipping the moment a coat goes on. Turn each 48-inch 2-by-4 on its side, hold a 10-inch piece flush against the bottom end, and drive two wood screws through or sink nails with a hammer. A nail gun makes this fast, though a hammer works fine if that is what is within reach. Attach one foot, rotate the post to the next face, attach another, and keep going until four feet sit perpendicular around the base of each vertical support. The second 48-inch piece gets the same treatment. A rack this light will want to walk across the floor if the feet do not sit perfectly square, so sight down each post before the last nail goes in; the ten minutes spent correcting alignment now saves a dowel rod full of clothes from leaning like a wilted sapling later.
Recommended Products

INDUSTRIAL PIPE STYLE- Rustic clothing rack could be perfect match decorative vintage style to your home. Retro heavy duty pipe steampunk style, show off your amazing taste with its french style design. Try to DIY your own creation with better space saving.
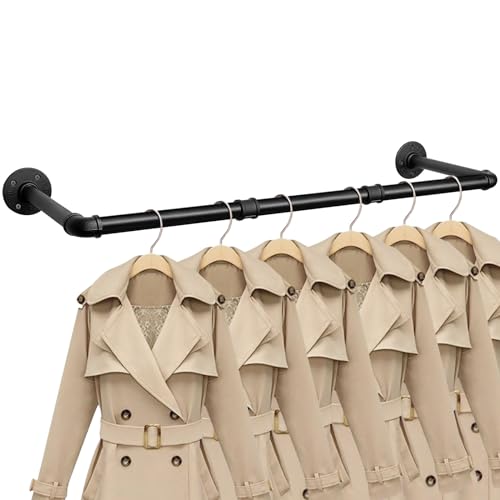
Industrial and Retro Design: Made of black superior rustic iron pipe, extremely sturdy and. The industrial clothes bar paint surface of the electrostatic spraying process enhances corrosion protection and avoids rust accumulation

RUSTIC METAL LOOK: This 50 inch pipe hanging rod brings a classic iron style to your home or boutique; The adjustable setup allows for a custom layout that fits your specific wall area or storage goals
Insert the Dowel Rod

The 1 1/4 inch round dowel rod, usually 8 feet long, slides through the holes you drilled at the top of each vertical 2 by 4. Mine came from the hardware store at that full length and I left it there, though you could cut it shorter if your space demands it.
Friction alone won’t keep it from inching outward under weight. A small finishing nail through the rod end and into the 2 by 4, or a dollop of wood glue where rod meets hole, stops the creep without making the joint permanent. I watched one rack drop its bar mid-afternoon at a sale once; the owner had skipped this step and overloaded one side with winter coats.
The rod sits roughly 1 1/2 inches down from the top of each post, so your hangers clear the wood by a fingers width. Anything taller than standard hangers catches and snags, which you only notice when you are rushing to hang a shirt and the wood scrapes the fabric.
Recommended Products

Built for Lasting Use: The wall-mounted clothes rack is made of rust-proof carbon steel pipes and engineered wood, with a weight capacity of up to 88 lbs to hold multiple garments easily. It also comes with an MDF shelf that supports up to 53 lbs, perfect for storing small items like hats, handbags and decorations.

Industrial & Retro Design - This clothes rack wall mounted with top shelf is made of high quality iron pipes, smooth matte black-finished surface, industrial chic modern rustic steampunk farmhouse and urban looking furniture. Its unique and vintage look is great in room and could be also used in a hallway, entryway, bedroom, closet, laundry room or balcony
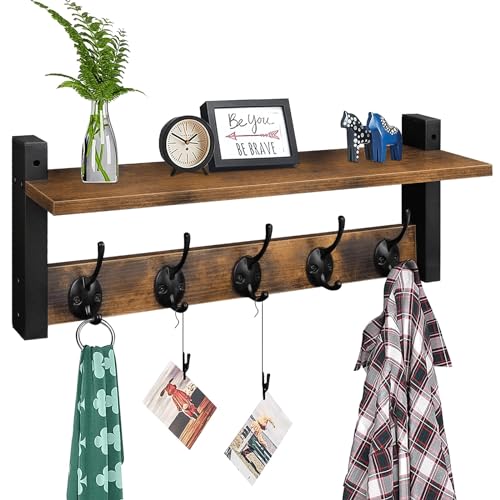
MATCHE THE AESTHETIC: Rustic brown wood surface for an old-time classic look, rigid black iron for industrial chic style, they now come together on this shelf with hooks to bring a elegant style to your home and go along with your theme in entryway, hallway, bathroom or bedroom
Stabilize the Rack

The first time I loaded a dowel rod with winter coats, the center bowed enough to slide hangers onto the floor. Wood has give, and mid-span weight finds it quickly. Move the end legs inward, shrinking the open span, and the same rod carries the load without complaint. An inch or two closer to center beats a thicker rod you have to hunt down. Pipe rigs dodge this mostly, since steel deflects less and wall-mounted flanges carry weight straight to studs. But on a freestanding wood rack, those feet are your adjustment point.
Recommended Products

By Crafters, For Crafters: Crafting and building with wood is our number one priority. Bringing you more of the wood craft supplies you love is our job. Please dont hesitate to get in touch

ACCURACY: The hand miter saw has cam-shaped pins twist and lock with honeycomb base to secure work for accurate cuts

Smooth Chop-saw: Our mini miter cut-off chop saw comes with two 2-5/16 inch blades. It features a 1/2 inch (12 mm) cutting depth of non-metal material, 2/5 inch (10 mm) of soft material, and 4/25 inch (4 mm) of ferrous metal. Get ready to saw through wood and get your next project started this season!
Wall-Mounted Rack With Top Shelf

A wall-mounted pipe frame starts with two side supports, each built from two Flange fittings and one Three Socket Tee. The flanges sit at top and bottom, the tee bridges the middle, and a vertical pipe joins them. Buy the single-leg socket version instead and the fitting costs less, though the three-socket body works either way with one pipe running through.
Once both sides stand, a 90 Degree Elbow at each corner connects the horizontal bar that carries your hangers. The shelf lands on top of the four upper flanges, pinned through their holes with wood screws. Assemble the frame on the floor first, then lift it to the wall as one piece. Mounting the flanges to drywall first and building upward tempts you toward spacing mistakes that leave the shelf rocking or the bar bowed. If studs don’t line up with your marks, drywall anchors keep the lower flanges from pulling free once the rack is loaded.
The shelf itself is whatever platform you have. A wood board is what the original build used, but the flanges will accept whatever thickness clears their bolt heads.
Recommended Products

Robust Industrial Design: Constructed from premium black iron pipes, this wall-mounted clothing rack offers a durable and stylish solution for hanging clothes, adding an industrial charm to any room.

INDUSTRIAL PIPE STYLE- Rustic clothing rack could be perfect match decorative vintage style to your home. Retro heavy duty pipe steampunk style, show off your amazing taste with its french style design. Try to DIY your own creation with better space saving.
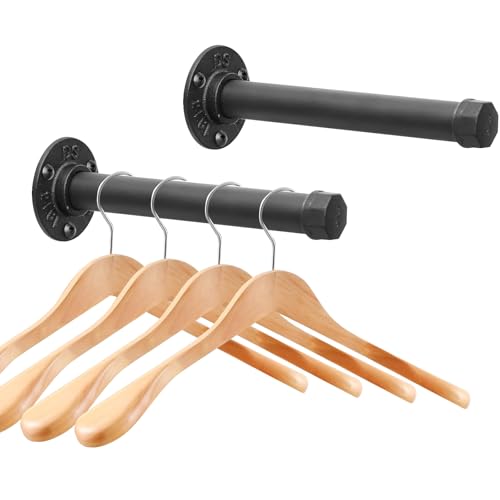
Product: The product consists of a base, a clothes hanger rod, and a rod cap. We offer 2 Pack, 4 Pack, and 6 Pack sets, with length specifications of 8 inch and 12 inch. Please choose according to your needs.
Industrial Pipe Rack

Pipe fittings and a slab of pine take the same footprint as a lumber rack but land in a completely different room. The black iron gives it weight, literally and visually; where a basic wood frame reads craft-fair, this one reads workshop-turned-loft. I kept the steel exposed on one I built for a friend’s rental, and the landlord actually remarked on it, which never happens with utility furniture.
The fittings thread together without welding, so the structure stays adjustable. You can swap a T-joint for an elbow if you want the shelf higher, or add a second rod below for shoes. What sold me was the thread seal itself: tighten it hard and the joint locks, but a pipe wrench still breaks it down for a move. Wood versions travel in pieces too, yet the steel tolerates being assembled wrong and redone without splitting a grain or wallowing out a screw hole.
Cost steps up, mostly at the flange plates that anchor to the wall. Pine shelf boards balance that if you keep them raw or hit them with a single coat of sealant. The real trade is time: cleaning cutting oil from the pipe, then threading each joint finger-tight before the final wrench pass. Skip that sequence and the upright racks lean, which I learned watching one rack list three degrees before I backed it all out and started over.
Recommended Products
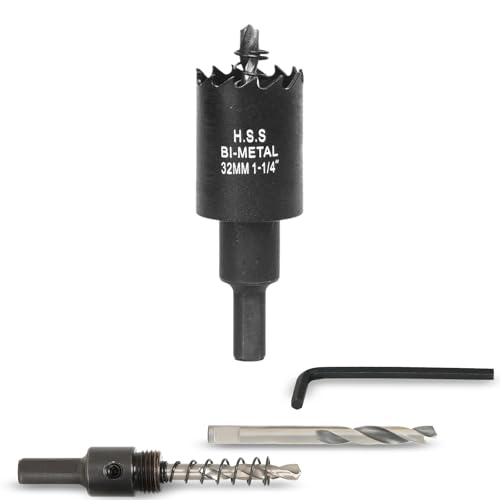
Package Includes: 1 pc 1-1/4" (32mm) hole saw, 1 pc arbor with drill bit, 1 pc pilot drill bit (replacement), 1 pc hex key

Manufacturer: Milwaukee
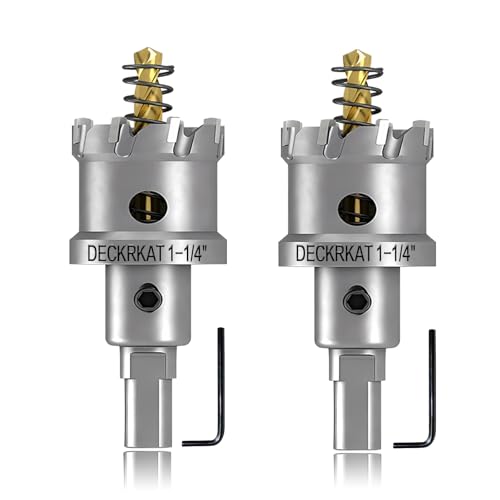
Built for Tough Jobs: Our Tungsten Carbide Tipped (TCT) Hole Saws are specifically designed to smoothly cut through hard materials including stainless steel, aluminum, high alloy steel, copper, plastic, FRP, and PVC, ensuring a clean, precise cut
Materials and Tools

Most of what you need for a basic wooden rack comes from a single trip to a lumber yard and a hardware store. Two standard studs, each 96 inches, give you the uprights and the feet without wasting much material. The 1 1/4 inch dowel rod, usually sold in eight-foot lengths, acts as the hanging bar; leaving it full length works fine unless your space demands something shorter. A circular saw or miter saw handles all the cuts, and a drill with a matching 1 1/4 inch hole saw bit bores the pocket the dowel sits in. Finish with a hammer and nails, or skip the noise and rental compressor and drive wood screws instead.
The industrial build shifts the whole shopping list to pipe fittings. Four flange fittings anchor the rack to the floor or wall, two 90 degree elbows shape the corners, and either three-socket tee fittings or the more economical single-socket tee join the vertical and horizontal runs. Pipe lengths are entirely up to you; order them cut to whatever span your closet or wall allows. A wood board across the top still works for the shelf, though any platform you prefer will serve.
Recommended Products

[Additional Accessories] 3pcs S-shaped hooks for hanging bags and other accessories. All hardware required is included. Just make sure to screw parts tight then mount the garment rack to the wall studs for support

Industrial Pipe Design - The clothing rack is designed to look great and is crafted from metal pipes, adding an industrial vintage style to your home or retail store. We designed this wall clothes rack to be really cool and eye-catching

【INDUSTRIAL PIPE DESIGN】The clothes wall rack is crafted from metal pipes with a cool industrial look that complements various room styles
Height and Stability

A clothes rack standing four, four and a half, or five feet tall puts the rod within easy reach for most people hanging or retrieving garments. The shorter four-foot version suits kids’ gear or folded pants, while five feet clears long dresses without wasting vertical space in rooms with standard eight-foot ceilings. I would cut the 2-by-4 end posts to the height that matches what actually hangs there; a rack planned for coats needs less clearance than one for evening gowns.
Stability turns on how the feet spread load at the base. The source build uses four 10-inch 2-by-4 feet per end post, set perpendicular in alternating directions, which squares the footprint and keeps the rack from tipping when weight shifts on the rod. Gravity works against any freestanding rack the moment heavy wet jackets cluster on one side. Wall mounting removes that risk entirely by transferring the load to studs, though it sacrifices the option to roll or reposition the unit. The four-foot freestanding version with broad feet handled yard-sale traffic without wobble; taller racks or heavier loads push the case for anchoring to drywall or finding a joist.
Recommended Products
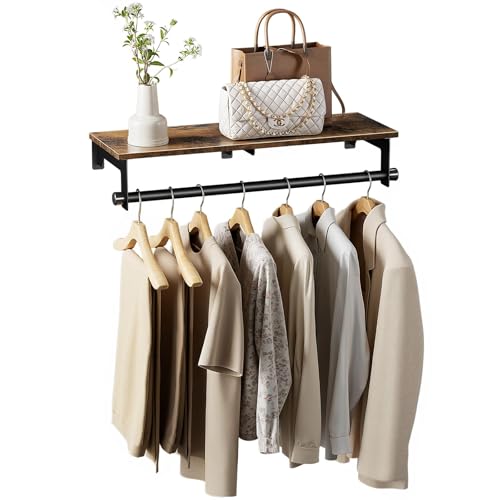
Space Saving: This laundry room shelves makes full use of the unused wall space and frees up the floor area, leaving you more space for furniture placement and movement. wall-mounted clothes racks is a great alternative to a closet or expensive wardrobe.

Excellent load bearing capacity: The wall mounted drying racks for laundry room adopts a very stable structural design, and the thickness of the main body reaches 1.5mm, thus ensuring good load-bearing capacity and stability of the clothes drying rack. The four heavy-duty clothes drying poles equipped at the same time can bear a maximum weight of 60 pounds.Ideal for small spaces, this laundry drying rack helps organize laundry efficiently.

✅【Large Storage Capacity】 Our laundry room shelves comes with 2 wood wall shelves equipped with clothes drying rods, a row of hooks and 2 hanging baskets. Not only can you conveniently hang clothes, but you can also neatly place laundry supplies. The laundry room wall shelves maximizes space usage, eliminating any concerns about the size of your washer and dryer.
Frequently Asked Questions
Recommended Products

Utilizes 20V Max* battery pack (DCB204) which provides on average 183 cuts of 2x4 Pine or 275 cuts of 3-1/4 pine baseboard
Ideal Choice - Best for fine finish crosscuts in hardwoods and softwoods, offering precise and clean cuts.

Dry metal cutting Chop saw; cuts metal with minimal heat or sparks and doesn't require coolant, leaving an instantly workable finish
How do you make a clothes rack?
Cut two 2x4s to 48 inches for uprights and eight pieces to 10 inches each for the feet. Drill 1 1/4 inch holes 1 1/2 inches down from the top of each upright, then attach the four feet per post in a perpendicular ladder pattern at the base. Slide the dowel rod through the holes and secure it with a finishing nail or wood glue to keep it from creeping outward under weight.
What materials do I need for a DIY clothes rack with shelves?
For a wood rack: two 2×4 studs, a 1 1/4 inch round dowel rod usually 8 feet long, wood screws or nails, and a shelf board if you want storage above. For a pipe rack: four flange fittings, two 90 degree elbows, tee fittings, pipe lengths cut to your span, and a platform for the shelf. Tools include a miter or circular saw, drill with 1 1/4 inch hole saw bit, and a hammer or driver.
How tall should a clothes rack be?
Four feet works well for kids’ gear or folded pants, four and a half feet suits general use, and five feet clears long dresses without wasting space under standard eight-foot ceilings. Match the post height to what you actually hang; coats need less clearance than evening gowns. Taller freestanding racks need broader or more carefully squared feet to stay stable under load.